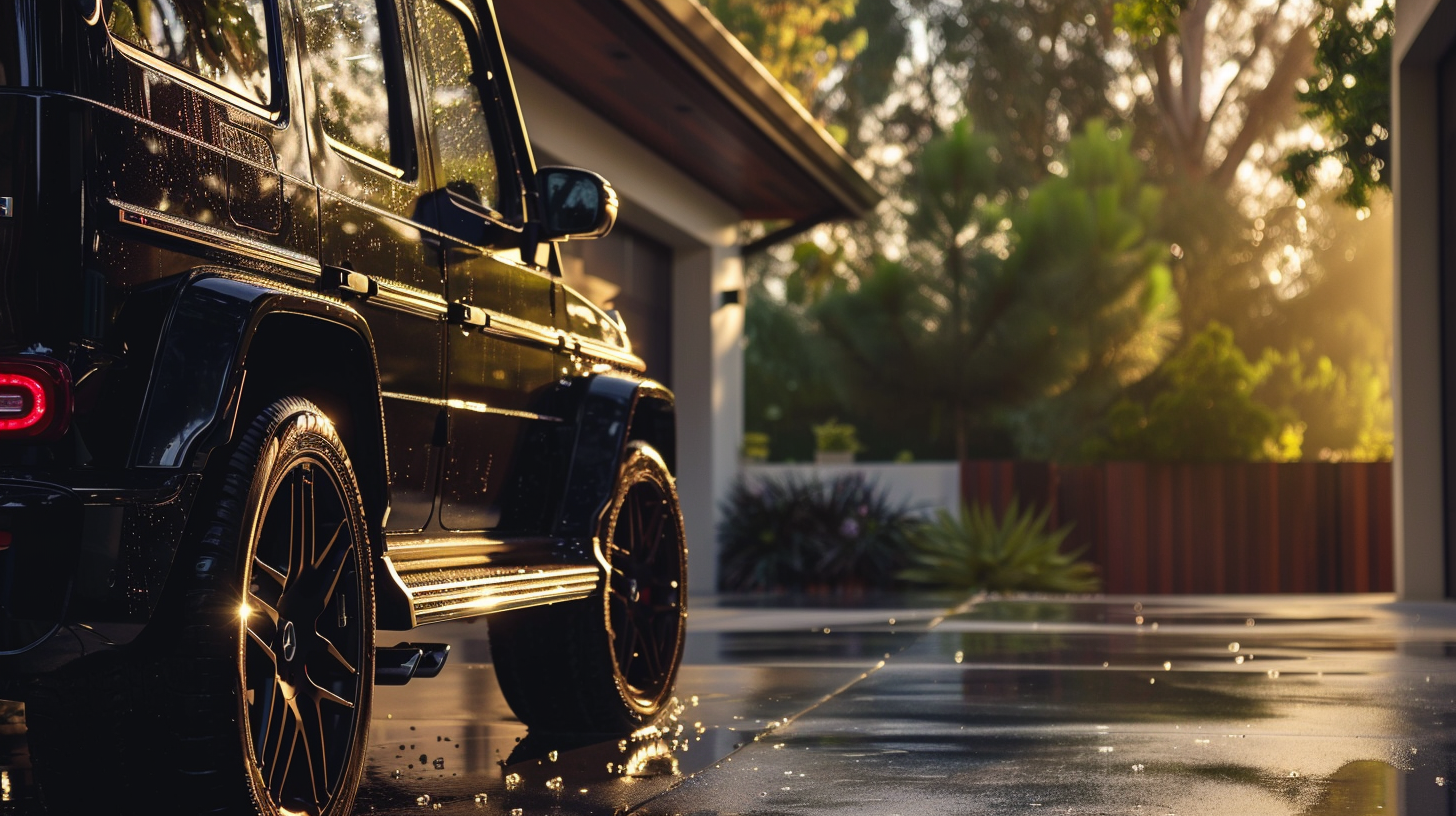
Proper Wash Technique:
The Ultimate Guide to Keeping Your Car Looking New

Why Washing the Right Way Matters
A car wash isn’t just about looks—it’s about protecting your investment. Every drive exposes your paint to dust, bird droppings, road grime, and harsh UV rays.
Washing incorrectly (like using old sponges or skipping key steps) can create swirl marks, micro-scratches, and premature paint damage.
This guide and video will walk you through the exact, professional-grade process to wash your car safely and achieve a deep, long-lasting shine.
Step 1: Preparation & Setup
What you’ll need:
3 clean buckets (one for soapy water, one for rinsing, one for wheels)
Grit guards (to trap dirt at the bottom)
pH-balanced car shampoo
Microfiber wash mitts (not kitchen sponges)
Soft drying towels or a blower
Wheel cleaner and brushes
Pre-wash or snow foam (optional)
Pressure Washer
Foam Canon
Product Recommendations:
Step 2: Wheel and Tyre Wash
Your wheels take the most abuse—give them their own step.
Brake dust, road grime, and tar build up faster here than anywhere else on your car. That’s why I always start with wheels before touching the paint. This is the standard approach in the detailing world, though some people prefer to clean wheels after washing the body. Ultimately, it’s personal preference, but starting first keeps dirt from splashing back onto freshly cleaned panels.
Process:
Use dedicated tools
Fill a separate wheel bucket and use brushes just for wheels—never the mitt or bucket meant for paint. This avoids cross-contamination and micro-scratches.Apply the right cleaner
Spray a wheel cleaner that’s safe for your finish (painted, chrome, matte). I highly recommend P&S Brake Buster—it’s pH-balanced, effective, and safe for every wheel and tire type.Agitate gently
Use a soft wheel brush to clean spokes, barrels, and lug areas. Work methodically to loosen brake dust and road film.Scrub the tires
With a stiffer tire brush, give the rubber a thorough scrub to remove built-up browning and road grime.Rinse thoroughly
Use a pressure washer to flush away all cleaner and loosened debris. Repeat this process for each wheel.
Don’t forget tires and wheel wells; they hold road grime that splashes back on your clean paint.
Step 3: Pre-Wash
The Pre wash is the first stage in the actual wash process, this step helps lift dirt out of your paint to be sprayed off before actual contact washing your paint. When you fail to prewash your car when your mitt is going accross the paint you are likely to pick up these bits of dirt and other debreis swiping it across the paint leaving scratches and swirls. From a detailers perspective our job isn’t to just clean the car but to protect it, this is an essential step everyone should be following to best protect their paint.
Use your disired dillution in your soap canon of either a ph-balanced car shampoo or a specfic citrus pre-wash. By no means is a specific pre-wash shampoo nescarry, I would reccomend to anyone to just use their ph-balanced car shampoo for both the pre-wash and contact wash stage. If you are using my reccomended car shampoo P&S Pearl Auto Shampoo then I reccomend you dilute this in your foam canon at 1:5 (soap : water). Once you have your soap canon filled and attached to your pressure washer then you must:
Snow foam / citrus pre-wash (optional but pro-level):
Spray a thick foam with your foam canon over the entire car and let it dwell for 2—4 minutes. This softens and lifts bonded dirt.High-pressure rinse: Wash of your foamed up car and knock off loose dirt and grit so you’re not grinding it into the paint. Start spraying at the top and work your way down the car.
Why this matters: Pre-rinsing and pre-foaming reduce the chance of swirls by removing debris before you touch the paint.
This is where most DIY washes go wrong.
People grab a single bucket of soapy water, dunk the mitt, and go to town. The problem? Every swipe of that mitt is picking up grit and dragging it across the paint, leaving behind the very swirl marks and micro-scratches you’re trying to avoid.
The two-bucket method is the fix—and it’s the gold standard for a proper, safe wash. It’s simple, but the difference it makes to your paint’s long-term health is massive. By separating the clean, soapy water from the dirty rinse water, you keep abrasive dirt out of your wash mitt and off your vehicle’s surface.
The two-bucket method is key for a scratch-free wash. What you’ll ned:
Bucket 1: Soapy water (pH-neutral shampoo)
Bucket 2: Clean rinse water with a grit guard
Process:
Fill both you buckets with grit gurads up with water an add a small amount of you car shampoo to one of the buckets.
Spray the car once again with you soap canon to lube up the paint on the car and reduce the chance of scrating.
Dip the microfiber mitt into the soap bucket.
Wash one section of the car at a time—starting at the top and working down.
After each section, rinse the mitt thoroughly in the rinse bucket before dipping back into the soap bucket.
This ensures dirt never re-enters your clean water.
Step 4: The Two-Bucket Method Contact Wash
Step 5: Final Rinse and Drying
Finish with a flawless dry.
After the wash and wheel work are done, the final rinse and drying step lock in all your effort. A proper rinse and dry not only prevent water spots but also set the stage for added gloss and protection.
Process
Low-pressure final rinse
Give the entire car a gentle, low-pressure rinse to encourage water to sheet off the panels. This helps remove any remaining soap and reduces the amount of water left to dry.Dry immediately
Use soft microfiber drying towels or a car dryer/blower to remove the remaining water. Drying right away prevents minerals in the water from etching into the paint and leaving spots.Pat or drag—don’t rub
Lay the towel flat and gently pat or drag it across the surface. Avoid rubbing or applying heavy pressure to eliminate the risk of micro-scratches.Pro Upgrade
For an extra layer of shine and protection, lightly mist a spray sealant or ceramic detailer onto each panel and rinse it off after you spray it all over the paint. This adds hydrophobic properties, boosts gloss, and makes future washes even easier. It also allows water to fall right off the paint making the drying proccess much quicker and easier. My Personal favourite sealent is P&S BeadMaker.
Step 6: Aftercare & Protection
Now’s the perfect time to apply:
Spray wax or ceramic spray for added shine and easier future washes.
Tire dressing for a deep black look.
Glass cleaner for crystal-clear windows.
Regular washing with this method keeps your coating or wax performing longer and maintains resale value.
Final thoughts
Proper washing isn’t just about a clean car—it’s about protecting your paint, coatings, and long-term value. By using the two-bucket method, starting with dedicated wheel care, and finishing with a gentle rinse and dry, you dramatically reduce the risk of swirls and scratches while keeping your finish glossy for years.
Regular maintenance with these steps—along with simple upgrades like spray sealants, tire dressing, and glass cleaning—means every wash builds protection instead of wearing it down.
Take the time to wash the right way and you’ll see the payoff every time the sun hits your perfectly detailed paint.